
Subscribe and receive email notifications of new blog posts.
 RSS Feed
- 2026 | 22 Posts
- 2025 | 48 Posts
- 2024 | 48 Posts
- 2023 | 48 Posts
- 2022 | 48 Posts
- 2021 | 48 Posts
- 2020 | 44 Posts
- 2019 | 48 Posts
- 2018 | 48 Posts
- 2017 | 2 Posts
- 2014 | 1 Posts
9
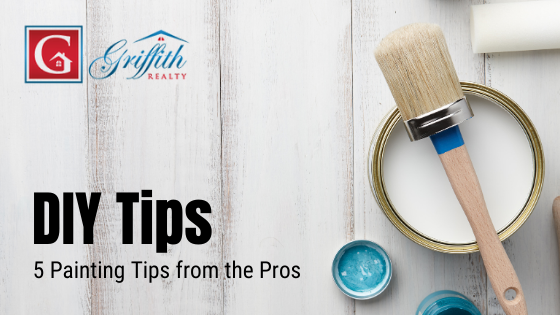
DIY Tips: 5 Painting Tips from the Pros
As we move into the colder months, our attention often turns from outdoor home improvements to indoor DIY projects. A fresh coat of paint is more than a way to freshen up a room, it's something to pass the long winter days. Chances are, you won't want to stop at just one room!
Our real estate agents have learned a thing or two about painting in our many years of buying and selling homes, and we'll gladly pass that knowledge on to you. Keep these pro painting tricks in mind when you're ready to add some color to your living space.
Touch Up Imperfections First
- Clean and De-Grime: Make sure the walls you're about to paint are clean and spotless. This is especially important in the kitchen, where grease and grime often builds on old paint.
- Patch and Spackle: Before painting, use a putty knife and spackle to smooth out imperfections, like nail holes and drywall cracks. Use a sanding sponge to smooth down the spackle after it dries.
Don't Skip the Primer
Think you can get away without a primer coat? That's a risky decision. Unless the color you're painting over is close to white (and you haven't had to touch up any imperfections), a primer coat is a must. And not just any primer coat:
- Primer Before Paint: Primer is especially important if you're painting over a dark color. And while you can get a two-in-one paint and primer to save time, you'll probably still end up doing two coats.
- Tinted Primer: Using a tinted primer helps your final coat of paint really pop. Choose a warm gray-tinted primer if you're painting the room a warm color or a cool gray-tinted primer if your painting a cooler color.
Get Quality Supplies
- Quality First: Brushes and rollers are two items that you definitely don't want to go cheap on, or you could end up with paint lines and noticeable thin spots.
- Prepare Your Rollers: Washing paint rollers (even good, high-quality ones) before you start painting will remove loose fibers, so those fibers don't end up on your walls. Rinsing in water is all it takes!
Plan Your Attack
Painting a room without a plan can lead to mistakes and often results in an inconsistent paint job. Formulate a plan of attack before you begin, and use this approach to get a consistent, professional look:
- One Wall at a Time: Finish one wall before you move on to the next one. Brush in the edges and corners of the wall first, then start rolling immediately so the brushed and rolled paint dry together for a seamless look.
- Bottom to Top: Some painters take a top-down approach, but starting near the floor and working your way up is a better way to avoid drips and get a consistent coat.
Check Your Work
- Let There Be Light: Paint during peak daylight so you can see what you're doing and open the windows to let in as much light as possible. Lots of light makes it easier to spot any imperfections.
- Look for Thin Spots: In particular, it's important to check each wall for thin spots before the paint dries and you move on. The most common places for thin spots are near the edges.
A fresh coat of paint is a fun DIY project, but it's also a great way to revitalize your space if you're getting ready to sell your home. Contact us today to learn more!